









Showing all 4 resultsSorted by popularity
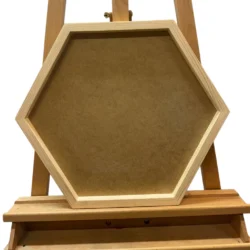
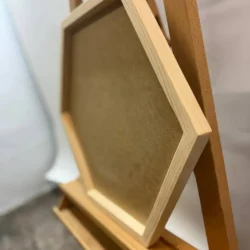
Moss Hexagon Picture Frame
Price range: 72.00 $ through 201.60 $ Exc. Tax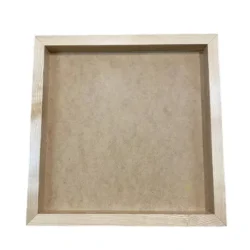
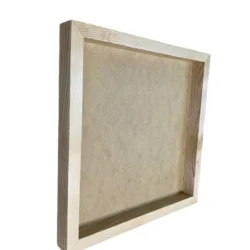
Wooden Frame for Moss Pictures – Square
Price range: 78.40 $ through 259.20 $ Exc. Tax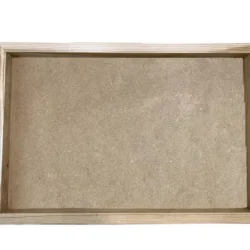
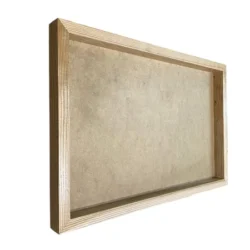
Moss Picture Frame – Rectangular
Price range: 72.00 $ through 403.20 $ Exc. Tax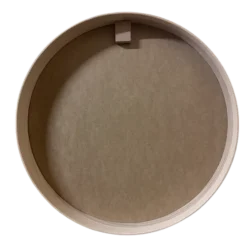
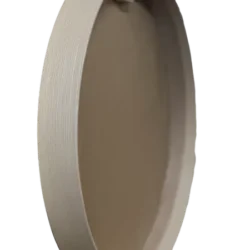
Round Moss Picture Frame
Price range: 64.00 $ through 619.20 $ Exc. TaxOur moss art frames are empty wooden frames built for filling with preserved moss. The difference between a moss picture frame and an ordinary one is depth: ours have a rebate deep enough to hold material without crushing it, which is the one specification that determines whether a finished panel looks three-dimensional or flat.
If you have tried this with a standard frame from a craft shop and been disappointed by the result, depth is almost certainly why.
Why Moss Art Frame Depth Decides Everything
An ordinary picture frame is designed to hold something two-dimensional against glass. The rebate — the recess at the back — is a few millimetres, because that is all a print needs.
Preserved material is not flat. Reindeer lichen stands one to two centimetres proud of a backing board; bun species reach two to three. Put either into a shallow frame and the material is compressed against the front edge, flattening exactly the relief you were building.
Worse, compressed material does not fully recover. Unlike a cushion, it takes a set, so the mistake is permanent rather than something you can fix by transferring the piece to a better frame later.
How to Fill a Moss Art Frame Step by Step
Filling a moss art frame is straightforward, and the order matters more than the technique.
- Unpack the material and give it an hour. It arrives compressed and regains its loft on its own. Working with it flat produces a flat-looking panel — this is the most common mistake and it happens before you have even started.
- Sort by tone. Natural variation within a batch is normal. Lay the clumps out and distribute the lighter and darker pieces deliberately across the frame rather than discovering the difference halfway through.
- Plan the layout dry. Arrange everything in the frame without adhesive. Take a photograph of the arrangement you like, because you will forget it the moment you lift the first piece.
- Glue to the backing, not to the material. Apply adhesive to the board and press the clump into it. Glue applied to fibres migrates to the surface, dries shiny and cannot be removed.
- Work from the edges inward. The perimeter is where the eye checks the quality of a fill, so do it while you are fresh. Joins end up in the centre, where they hide easily.
- Press pieces tightly together. Gaps that look minor on a table read as bald patches once the panel is on a wall lit from above.
- Add accents last. Ferns, flowers and bark sit on top of a completed base, never worked into it as you go.
Allow a couple of hours for a medium frame, and let the adhesive set fully before hanging.
What You Need Besides the Moss Picture Frame
- Preserved material — by the box. Calculate your area and add about 15% for trimming waste.
- Adhesive — low-temperature hot glue or a solvent-free craft glue. High heat scorches fibres.
- Scissors — for trimming clumps to fit rather than forcing them into place.
- Tweezers — optional, useful for small accents.
- A flat working surface and somewhere the piece can sit undisturbed while it sets.
If you would rather not source these separately, complete kits include the frame, material and adhesive in one box.
Shapes and Sizes
| Shape | Notes |
|---|---|
| Rectangular | The most straightforward to fill; joins hide easily along the long axis |
| Square | Forgiving for a first attempt — no dominant direction to get wrong |
| Round | Harder to fill evenly, since the eye compares your edge against a perfect circle |
| Hexagon | Tiles with others if you build several; six corners to keep tidy |
The Wood We Use
Every moss art frame is solid oak or ash, finished so the grain stays visible. Moss picture frames arrive assembled with the backing board fitted and hanging fixings included, so the only work is the filling.
Our moss art frames come without glass, deliberately. Glass over preserved material traps humidity, flattens texture and reflects light off a surface whose whole appeal is that it does not reflect.
Moss Art Frames: Frequently Asked Questions
Can I use a normal picture frame instead?
Only if it is unusually deep. Standard frames crush the material flat, and the damage is permanent.
How much material will I need?
Measure the internal area of the frame and add roughly 15% for waste.
What glue works best?
Low-temperature hot glue or solvent-free craft adhesive, applied to the board rather than to the material.
Do the frames come with glass?
No, by design. Glass would flatten and dull the finished panel.
Is it difficult?
No. The technique is simple and forgiving; the two things that matter are letting the material recover its loft and pressing the clumps tightly together.
Can I hang it straight after finishing?
Let the adhesive set for a few hours first.
Related Collections
For the full process with everything supplied, see DIY kits, or browse DIY moss crafts. If you would rather buy a finished panel, moss wall art.