








Showing 1–12 of 20 resultsSorted by popularity
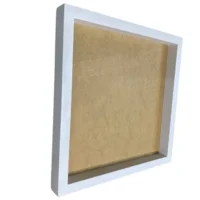
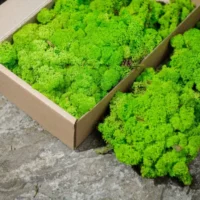
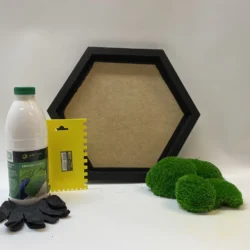
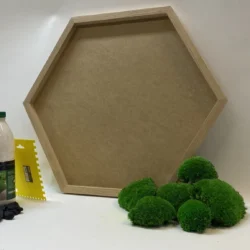
DIY Moss Picture Set Hexagon – Cushion Moss
Price range: 115.20 $ through 619.20 $ Exc. Tax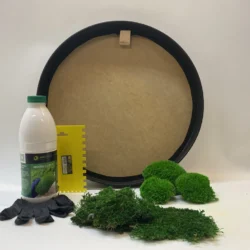
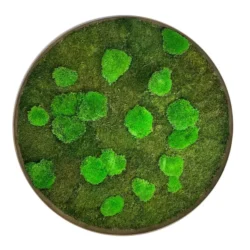
Round DIY Moss Art Kit – Moss Duo
Price range: 115.20 $ through 619.20 $ Exc. Tax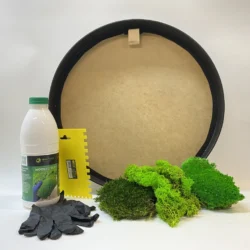
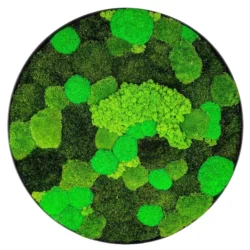
DIY Round Moss Art Kit – Mixed Moss Set
Price range: 115.20 $ through 619.20 $ Exc. Tax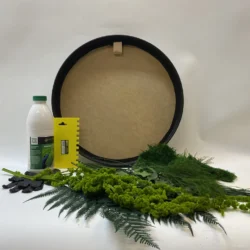
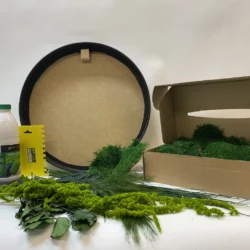
Round DIY Moss Art Kit – Plant World
Price range: 201.60 $ through 835.20 $ Exc. Tax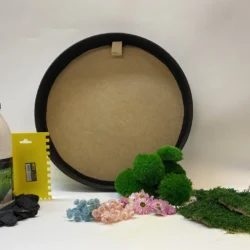
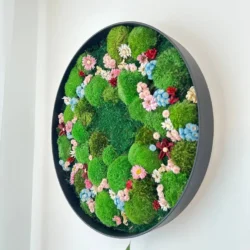
DIY Round Moss Wall Art Kit – Dried Flowers
Price range: 144.00 $ through 835.20 $ Exc. Tax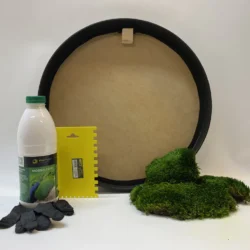
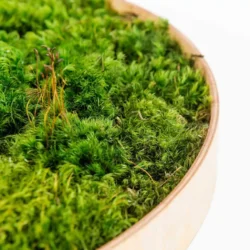
DIY Round Moss Picture Kit – Provence Moss
Price range: 115.20 $ through 619.20 $ Exc. Tax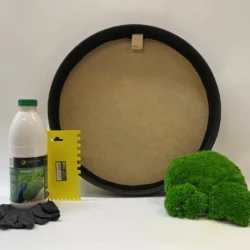
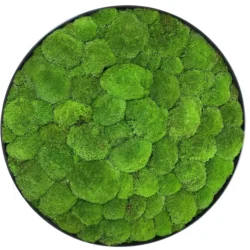
Round DIY Moss Picture Kit – Balled Moss
Price range: 115.20 $ through 619.20 $ Exc. Tax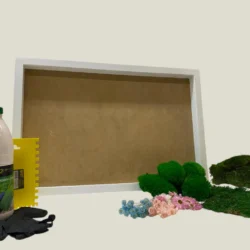
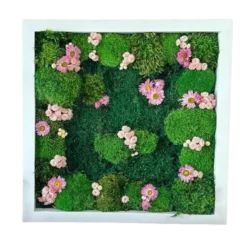
DIY Moss Picture Kit – Flower Meadow
Price range: 129.60 $ through 763.20 $ Exc. Tax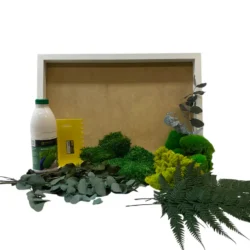
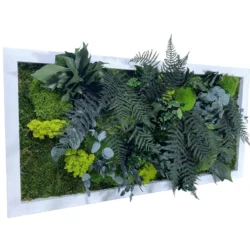
DIY Jungle Moss Picture Set
Price range: 129.60 $ through 763.20 $ Exc. Tax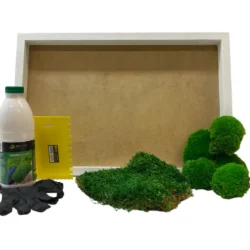
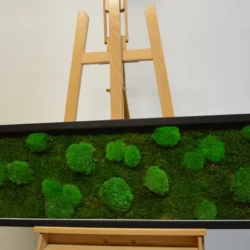
DIY Moss Picture Kit – Mix of Bun Moss and Flat Moss
Price range: 100.80 $ through 619.20 $ Exc. Tax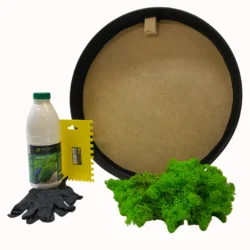
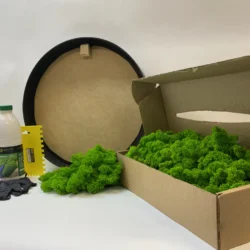
Ekomoss Round DIY Moss Picture Set – Reindeer Moss
Price range: 115.20 $ through 619.20 $ Exc. Tax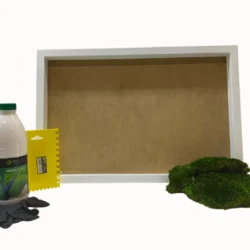
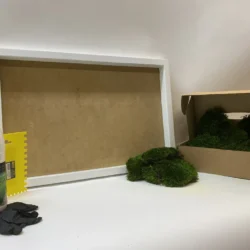
DIY Moss Wall Art Kit – Provence Moss
Price range: 100.80 $ through 619.20 $ Exc. TaxDIY moss art means building the panel yourself: a frame, some preserved material, adhesive, and an afternoon. This section covers the kits and the components — everything from a boxed set with instructions to loose material for people who already know what they are doing.
DIY moss art is genuinely achievable for a beginner. The techniques are simple, nothing is fragile enough to ruin with a clumsy first attempt, and there is no stage where getting it wrong wastes the whole thing.
Two Ways to Start DIY Moss Art
Complete kits contain everything in one box — frame, material, adhesive, instructions — and take one to two hours. They are the sensible starting point, and the usual choice for a gift or a group activity.
Buying DIY moss art components separately makes sense once you know what you like, or when the piece is a specific size. Empty frames and material by the box cover that. It works out cheaper for anything larger than a kit, and it is the only route if you are covering a substantial area.
What You Need for Moss Art
- A frame with depth. The single most important item. Standard picture frames are too shallow and will compress the material flat.
- Preserved material. Reindeer lichen is the most forgiving for a first attempt — it fills easily and hides mistakes.
- Adhesive. A low-temperature glue gun, or a solvent-free craft glue. High heat scorches the fibres.
- Scissors. For trimming clumps to fit rather than forcing them.
- A flat surface and an hour or two. Working on your lap does not end well.
Optional but useful: tweezers for placing small accents, and gloves if you would rather not have glycerin residue on your fingers.
How to Make DIY Moss Art Step by Step
- Unpack and let the material recover. It compresses in transit and regains loft in about an hour. Working with it flat is the commonest beginner mistake and produces a flat-looking result.
- Sort by tone before gluing anything. Natural variation within a box is normal. Distributing it deliberately looks composed; discovering it halfway through does not.
- Plan the layout dry. Arrange clumps in the frame without adhesive and look at it. Photograph it if you like the arrangement, because you will forget it the moment you pick the first piece up.
- Work from the edges inward. Joins end up in the middle, where they are easiest to disguise, and the perimeter — the part the eye checks — stays clean.
- Press clumps tightly together. Gaps that look minor on a table become bald patches on a wall lit from above. This is the second commonest mistake and the one people notice a week later.
- Add accents last. Ferns, flowers and bark go on top of a finished base, not into it.
What Goes Wrong Most Often
Three DIY moss art mistakes come up consistently, and all three are avoidable.
Too little material. Almost everyone underestimates. Coverage always takes more than it looks, because clumps have irregular edges and you trim waste at every join. Order about 15% more than your calculation suggests.
Glue showing. Apply adhesive to the backing and press material into it, rather than putting glue on the material and placing it. Glue on the fibres migrates to the surface, dries shiny and cannot be removed.
Rushing the base. A patchy base layer shows through everything you put on top of it. Get the ground right and the accents mostly place themselves.
Who These Are For
- People who want a specific size that no ready-made piece matches.
- Anyone who enjoys the making more than the owning — this is a slow, quiet, tactile job.
- Gifts for crafters, where a kit is more interesting than a finished object.
- Team activities and workshops — kits work well for groups because everyone finishes in the same session.
- Teenagers and adults. The materials are safe and the technique is forgiving; the only equipment worth supervising is the glue gun.
Caring for Your Moss Art
Whatever moss art you build follows the same rules as anything we make: no water, no light needed, no feeding. Indoors, out of direct sun, it holds up for 7 to 10 years.
Leftover moss keeps indefinitely if stored sealed, dry and out of the sun, in a box rather than a bag.
DIY Moss Art: Frequently Asked Questions
How long does a piece take?
One to two hours for a kit-sized panel, longer for anything large or detailed.
Do I need any skill?
No. If you can use scissors and a glue gun, you can do this.
What glue should I use?
Low-temperature hot glue, or a solvent-free craft adhesive. High heat damages the fibres.
How much material do I need?
Measure your area, then add about 15% for trimming waste.
Can children do it?
Older children, with an adult handling the glue gun. The materials themselves are natural and non-toxic.
Can I use an ordinary picture frame?
Only if it is deep enough. Most are not, and a shallow frame flattens the texture.
Explore the Collections
Complete kits · Frames · Material by the box. For finished pieces instead, see moss wall art.